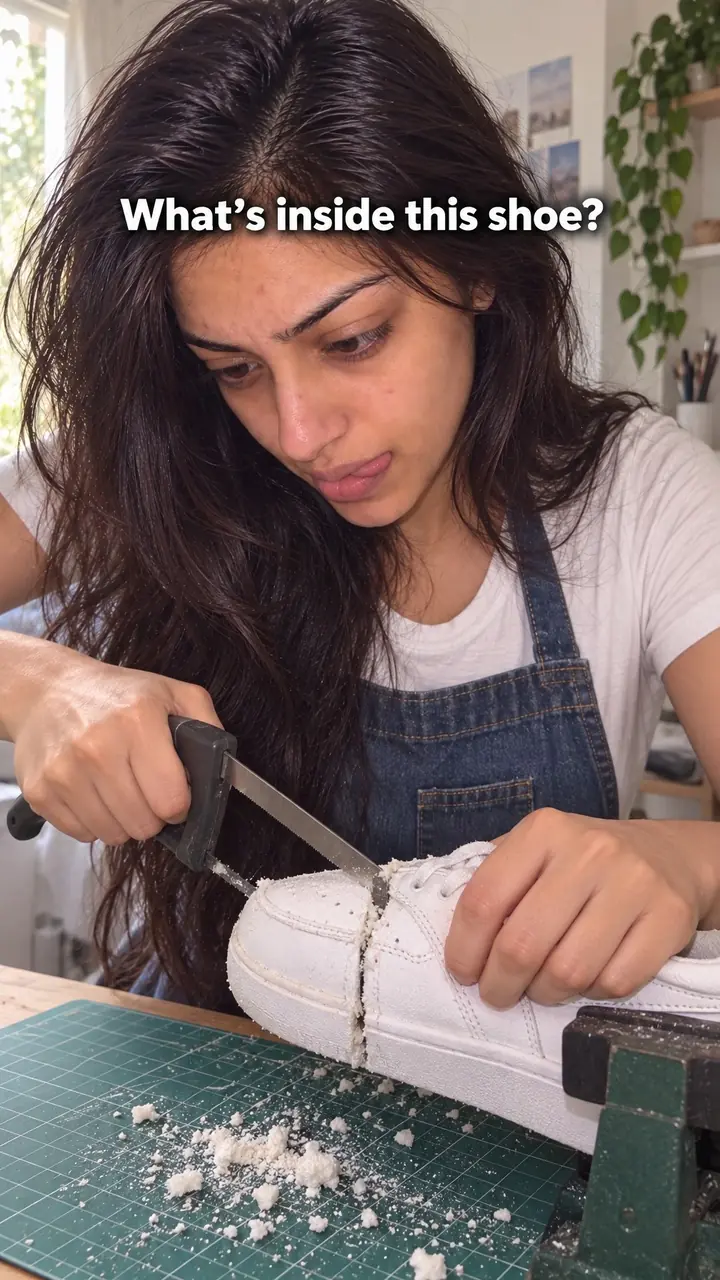
Transformation Hook: Before to After, in One Shot
Also called: Before and after, Glow-up hook, Instant makeover, Snap transition
A small haircare brand has a new brush and about two seconds of a stranger's attention. It could list features. Instead, it films one section of frizzy hair, pulls the brush through once, and leaves the smooth strip next to the untouched hair. No claim is needed. The change is the claim, and the viewer can judge it alone.
That is a Transformation hook. It shows before turning into after, ideally in one continuous shot or a single cut. This guide gives you a formula to copy and filming steps for Reels, TikTok, video ads and static ads. It also covers examples across brand and creator niches, mistakes with fixes, and the ad policy checks to make before you spend money.
What is a transformation hook?
A Transformation hook is a visual opening that shows a clear before changing into an after, ideally in one continuous shot or a single cut, so viewers see the result in the first seconds.
You open on the starting state, such as messy hair, a stained surface or a cluttered drawer. Then the change happens on camera. The viewer watches the hair smooth out, the stain lift or the drawer become tidy. You do not describe the result first. You show it, and the product, tool or method appears as the cause. That order matters because proof comes before explanation. Use one continuous shot when you can, because it feels harder to fake. If you need a cut, use one clean cut and keep the angle, light and framing the same. That keeps the comparison fair and easy to read on a phone screen.
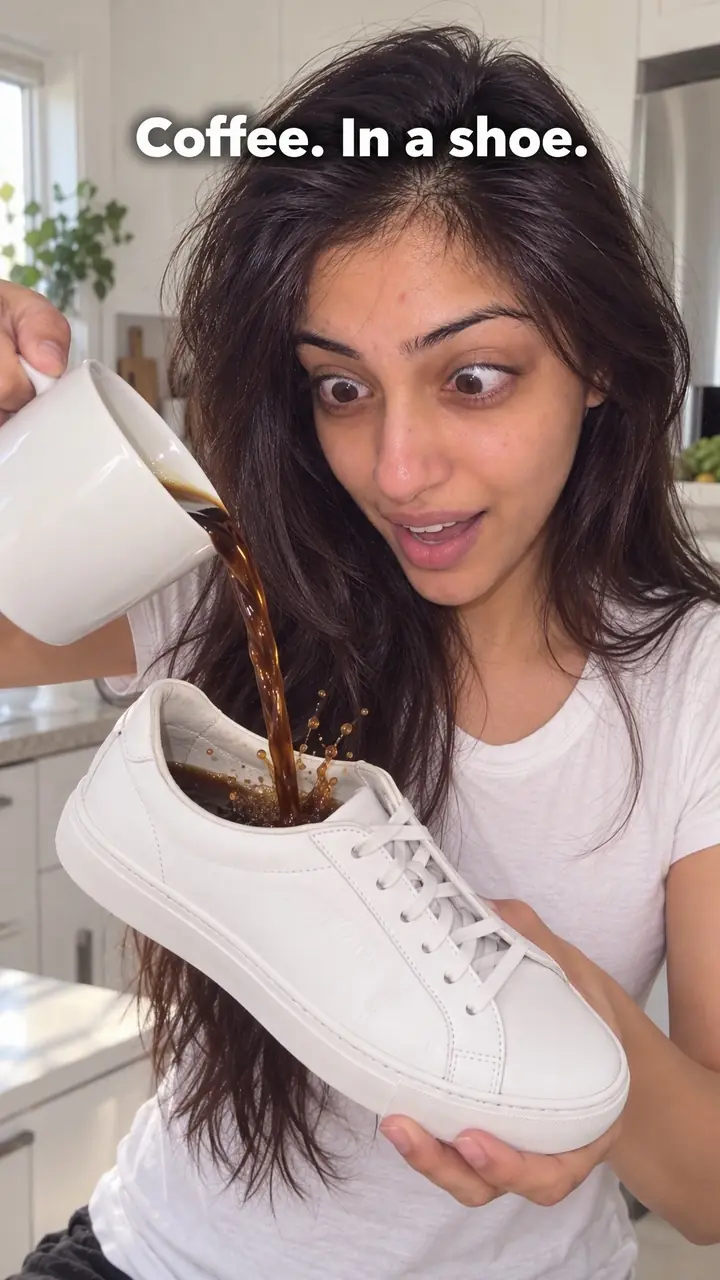
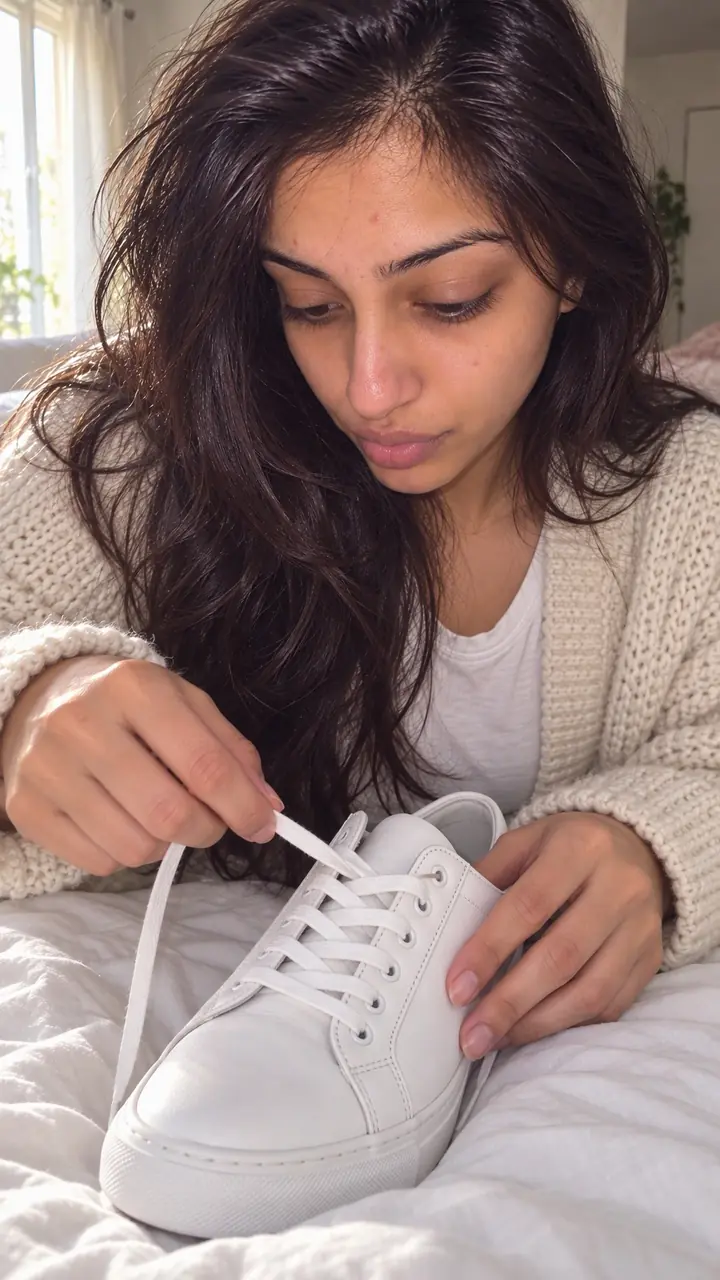
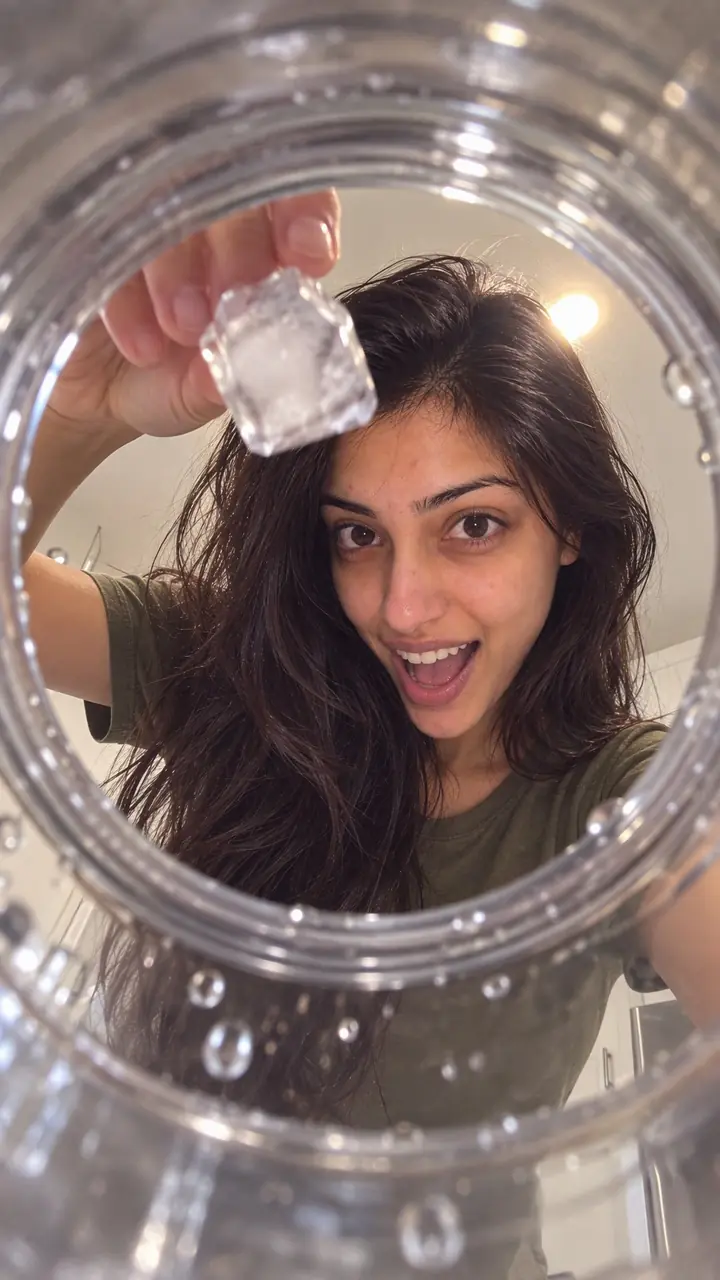
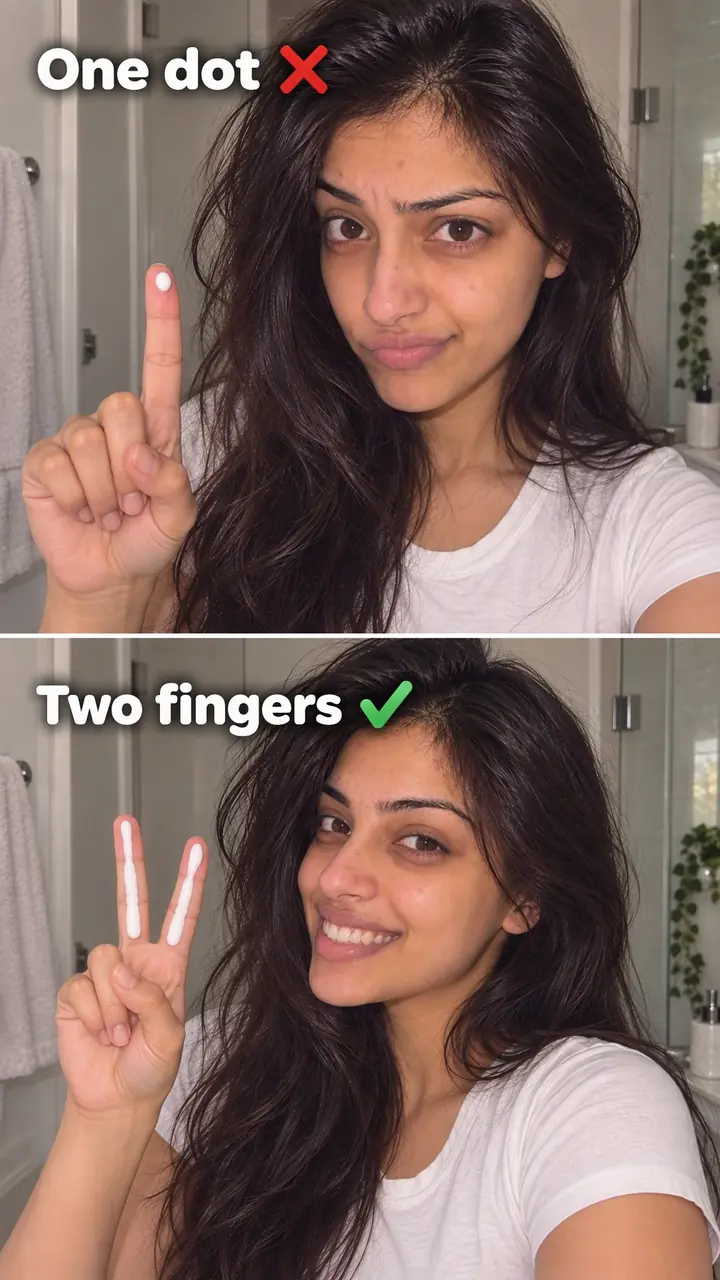
Transformation hook, in pictures
Why it works
- A visible change can make a benefit easier to assess
- Showing the starting state and the result gives viewers something concrete to compare. It demonstrates what happened under the shown conditions, but does not by itself establish typical results or prove that the product caused the whole change.
- A familiar starting point can feel relevant
- Viewers may recognise a situation they have experienced and become interested in the result. That response varies, so avoid assuming everyone shares the problem or will achieve the same outcome.
- An unfolding change can create curiosity
- When the action is easy to follow, some viewers may keep watching to see the finished state. Begin the change promptly and deliver a clear result rather than relying on suspense to guarantee attention.
The formula
- Frame the before so it reads in one glance at phone size.
- Start the change in the first second, with no greeting, logo or packaging shot.
- Lock the camera so only the subject changes.
- Keep the product, tool or hands in frame as the visible cause.
- Hold the after, then name the condition in two or three words.
[Starting state] → [product or action] for [number of passes / seconds / days] → [visible result]. On-screen text: "[One pass / [X] seconds / Same light]". Voiceover or caption: "Here's what I used and how."How to use it
- Choose a change that reads in one glance
Pick a change the viewer can spot at phone size without zooming. Frizz to smooth. A marked surface to clean. A messy space to ordered. If you need a paragraph to explain the difference, choose a stronger subject or get closer.
- Fix the camera and the light
Set your phone on a tripod or a stable surface. Use the same angle, distance, light and background for the before and the after. Lock focus and exposure if your app allows it. This stops the edit from looking like a trick.
- Start changing in the first seconds
Show the before for a brief moment, then start the action. Do not walk in, greet the viewer or hold up packaging first. The viewer should see the problem and the start of the fix almost together.
- Film the action, not just the endpoints
Brush, wipe, apply, tidy or style in frame. Keep hands and product visible where you can. If the process takes longer than the video, show the start, a middle point and the finish. Do not hide the hard part.
- Add short text that names the condition
Add two or three words that set the terms, such as One pass or [X] minutes. Place the text where it does not cover the change. Repeat the point in your voiceover or caption, and keep the words matched to what the shot proves.
- Hold the after, then explain
Pause on the result. Then explain the steps, the product and any limits. End with one clear next action, such as save the steps, check the shade or read the usage notes. The hook earns attention. The rest of the video earns trust.
Examples
| Niche | Line | Why it works |
|---|---|---|
| Haircare (DTC) | Frizz on the left. One pass of this brush on the right. Text: One pass. | The untouched section stays in frame, so the viewer judges the result against a live reference. |
| Cleaning (DTC) | One wipe down this grout line. Nothing scrubbed off camera. | A single wiped strip next to dirty grout is a fair test the viewer can read instantly. |
| Home organisation (DTC) | This drawer, sorted in [X] seconds. Same drawer, same camera. | A fixed frame plus a time condition makes the change specific and hard to question. |
| Skincare (DTC) | Before, then one application. Same light, no filter. Text: Same light. | Naming the light answers the first doubt in the comments before anyone writes it. Check skincare ad rules first. |
| Footwear and fashion (DTC) | Scuffed sneaker. One shoe cleaned with [product], one left alone. | The unchanged shoe is the constant that makes the clean one believable. |
| Food and drink (DTC) | Plain water to [flavour] in one stir. Watch the colour change. | The change is fast, bright and happens in a single shot, so there is no cut to doubt. |
| Home fitness creator | Day [1] to day [X] of the same hold. Same spot, same pose, same morning light. | Matching conditions keep attention on the change, not on angles, clothing or lighting. |
| Hairstylist or barber creator | Walk-in to finished cut, one locked camera, sped up [X] times and labelled. | Labelling the speed keeps the shot honest while fitting a long process into a short clip. |
| Furniture flip creator | This [secondhand] chair, sanded and painted in one take. Text: [X] hours, sped up. | One take from rough to finished shows the work, which is what this audience comes to see. |
| Illustration creator | Rough sketch to finished line art, same page, one continuous take. | The page never moves, so viewers watch the drawing appear as the work itself. |
Variations
- One continuous shot
- Keep the camera rolling from before to after. Best for fast changes such as a brush pass, a wipe, a peel or a stir. It is the most convincing version because there is no cut to question.
- Single matched cut
- Film the before and after separately, then join them with one cut. Match angle, light and position exactly. A hand swipe across the lens can hide the cut, but say so if time passes between the two shots.
- Split frame
- Show both states at once, left and right or top and bottom. Use it for static ads and for slow changes that cannot be filmed in one take. Label each side in large, plain text.
- Half done
- Open with the change already halfway through, such as half the grout clean or half the hair styled. The unfinished line pulls the eye, then you finish it on camera.
Common mistakes
- You move the camera between before and after.
- Fix → Reshoot with the camera fixed. Keep the subject in the same place and change only the one thing you are testing.
- You improve the after with light or a filter.
- Fix → Remove filters. Use the same light for both states. If the light must change, say why on screen.
- You explain for ten seconds before anything changes.
- Fix → Cut the greeting and the packaging shot. Open on the before already changing, then introduce the product as it does the work.
- You hide how long it took or how much you used.
- Fix → State the real time, passes or amount. Speed up footage only if you label it, and show at least one part at normal speed.
- You exaggerate the gap between before and after.
- Fix → Show a result a typical user can expect under the stated conditions. Show the starting state honestly and name who the product may not suit.
- You show the after and give no reason to keep watching.
- Fix → End the opening with a question the rest of the video answers, such as how you did it, how long it lasts or what it costs to repeat.
When not to use it
- If the benefit is not visibly observable, use Real-world test (real-world-test-hook) to report supported observations over time, or Customer story (customer-story-hook) for a genuine customer account. Neither format removes the need to support advertising claims.
- If the honest change is too subtle for a broad before-and-after view, consider Extreme close-up (extreme-close-up-hook). Keep magnification and lighting consistent, and do not imply that a small detail represents a larger effect.
- If current platform or category rules restrict your intended before-and-after presentation, consider Satisfying action (satisfying-action-hook) or Texture (texture-hook) without the comparison. Review the alternative separately; changing hooks does not guarantee policy compliance.
- If the main appeal is an enjoyable action rather than a visible change of state, use Satisfying action (satisfying-action-hook). If the result needs extended use and context to assess honestly, use Real-world test (real-world-test-hook) instead.
For brands
For DTC brands, this hook works when your product causes a change a camera can record. Haircare, skincare, cleaning, home, footwear care and fitness gear are natural fits. The goal is not to look impressive. It is to let a buyer see what happens when they use the product, under conditions they could repeat at home.
- Build one fixed filming setup per product, with the same surface, background, light and phone position. Every new clip then matches, and your before-and-after library stays consistent across Reels, TikTok and video ads.
- Turn the best take into a short silent loop for the product page, and a split frame version for static ads. Same footage, three placements.
- Brief UGC creators with a locked-frame rule: camera on a stand, one real use, no filters, condition written on screen. Ask them to send the raw file with the edit.
- Check the ad policy for your category before you put money behind it. Some categories limit before-and-after images or claims about personal traits. If yours does, run the version that shows use without a comparison.
- Follow every transformation ad with proof that it lasts. A retest after [X] washes, days or weeks answers the next question buyers ask, and keeps the claim honest.
Pairs well with
- Satisfying action
Put a clean wipe, brush stroke, peel or pour at the centre of the change. The action itself becomes enjoyable to watch, so viewers stay until the transformation finishes.
- Real-world test
Use the transformation as the opening proof, then report back after days or weeks of real use. It answers the doubt every buyer has: does the result last?
- Sound cue
A crisp swipe, spray or brush sound matched to the moment of change makes the before-to-after land, even for viewers who barely look up.
- Text-first frame
Put the condition, such as One pass or [X] seconds, in large text on the first frame. Muted viewers know what to watch for before the change starts.
FAQs
- What does Transformation hook mean?
- It means the opening shows change, not just a claim. You see the starting problem, you see it become the result, and you understand the promise without a long explanation. If the change is not visible, it is not this hook.
- Is a Transformation hook the same as a transitional hook?
- No. A transitional hook is a short clip or edit effect that moves you into your main footage. A Transformation hook is the content itself: a before becoming an after. You can use a transition inside it, but the change is the point.
- Should you show the before or the after first?
- Start with the before already in motion. Show the change within the first few seconds, then hold the after long enough to read. After that, explain how it happened, what you used and what to do next.
- Do you need a template to make one?
- No. Film the before and after in the same place, from the same angle, with the same light. Edit them as one shot or one cut in your normal editor. A template can help with timing, but it cannot fix a weak or unclear change.
- Can you use this hook in a static ad?
- Yes, if the change is clear at phone size. Put the before on the left and the after on the right, or top and bottom. Keep labels short, such as Before and After. Check the rules for your category before you run it as a paid ad.
- Are before-and-after ads allowed?
- Sometimes. Rules vary by platform and category, and some categories restrict before-and-after images or anything that implies personal attributes. Read the current ad policy before you publish. Keep the result honest, avoid edited skin, bodies or surfaces, and do not promise more than your product can deliver.
Key takeaways
- Show the change. Do not describe it first and prove it later.
- Keep the camera, light and framing fixed so the comparison looks fair.
- Start the action in the first second and hold the after long enough to read.
- Name the condition on screen, such as one pass or [X] seconds, and keep it true.
- Keep results honest and check ad rules before using before-and-after images in paid media.