Manufacturing Process Hook: Show Raw Materials Becoming the Product
Also called: How it's made, Factory floor opener, Craftsmanship hook, From-scratch process
Picture a small candle brand. It posts a photo of a finished jar, and people scroll past. Next time, it opens on a scoop of plain wax pellets hitting a hot pot. The text reads 'Wax → candle.' Now the viewer has a question: how does that pile of beads become the jar on the shelf? They stay to find out.
That is the manufacturing process hook. This guide covers why it works, a formula you can copy, filming steps for Reels, TikTok and Shorts, and examples across product and creator niches. It also covers the mistakes that make it feel fake or dull, and when to pick another hook.
What is a manufacturing process hook?
A manufacturing process hook opens on raw materials and follows them as they turn into the finished product. Viewers stay to see the end result, and they see the care behind the price.
You open on the material before it looks like a product. Then you show the key steps in order: cut, shape, mix, pour, stitch, assemble or finish. You end on the finished item, held up or in use. Think of a home baker who opens on a bowl of flour and ends on a sliced loaf. The hook is the gap between the first frame and the last, and the viewer stays to close it. Keep the steps visual. If a step needs words, use one short caption or one spoken line. Show one product, from start to finish.
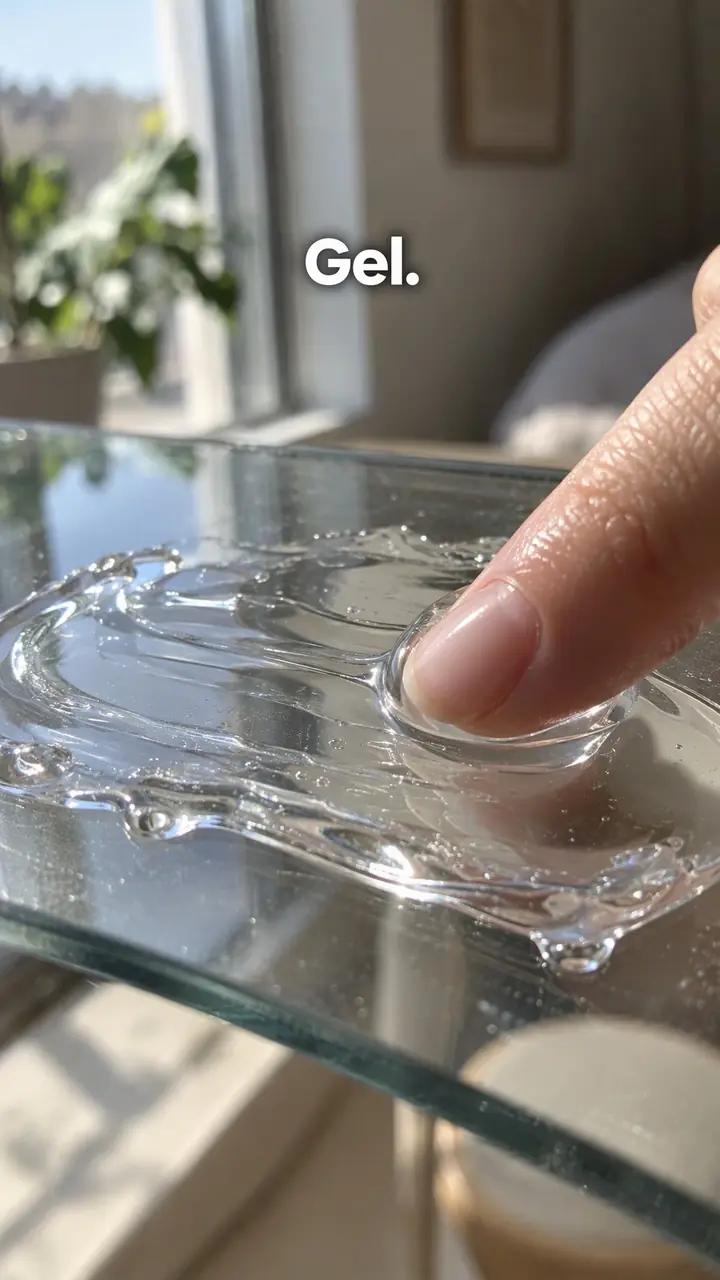
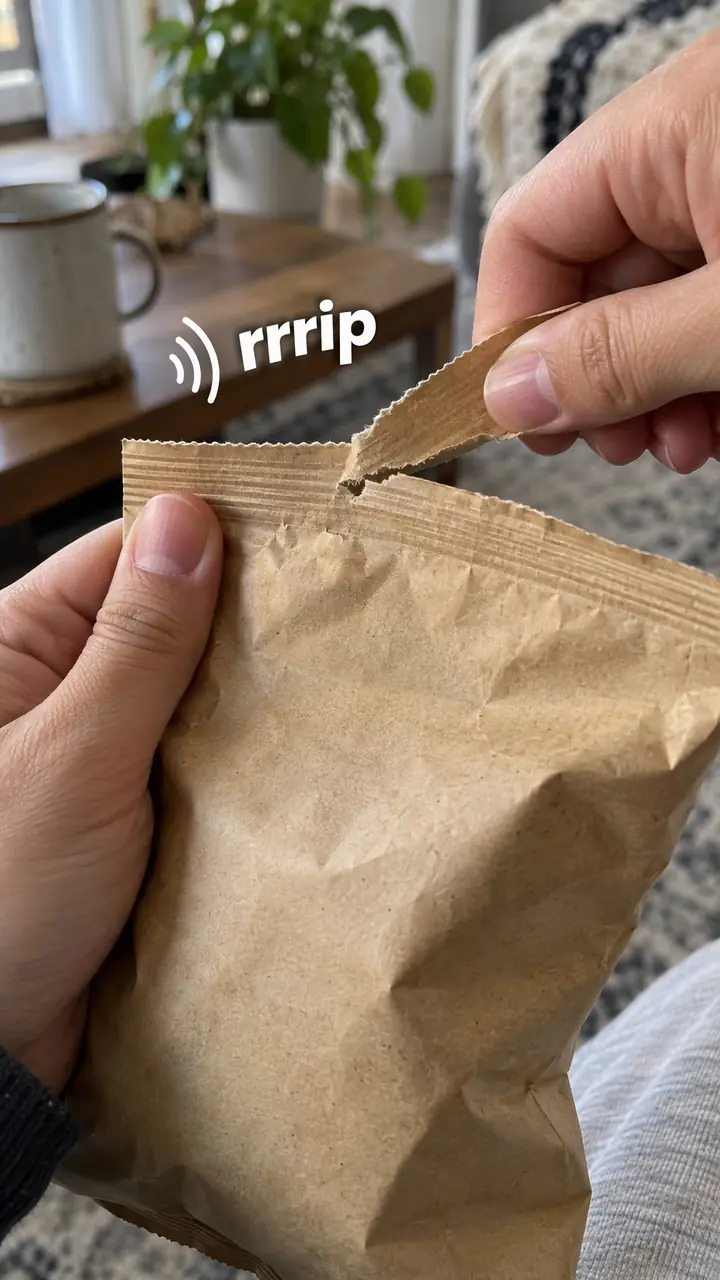
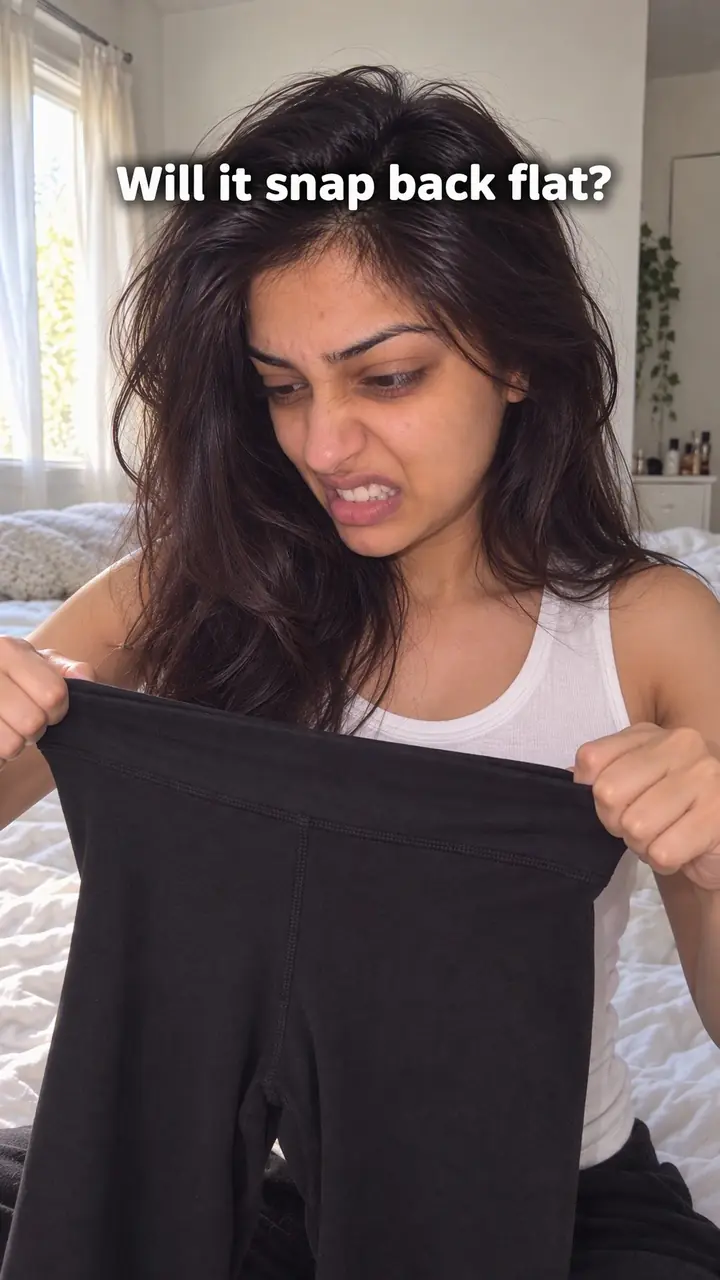
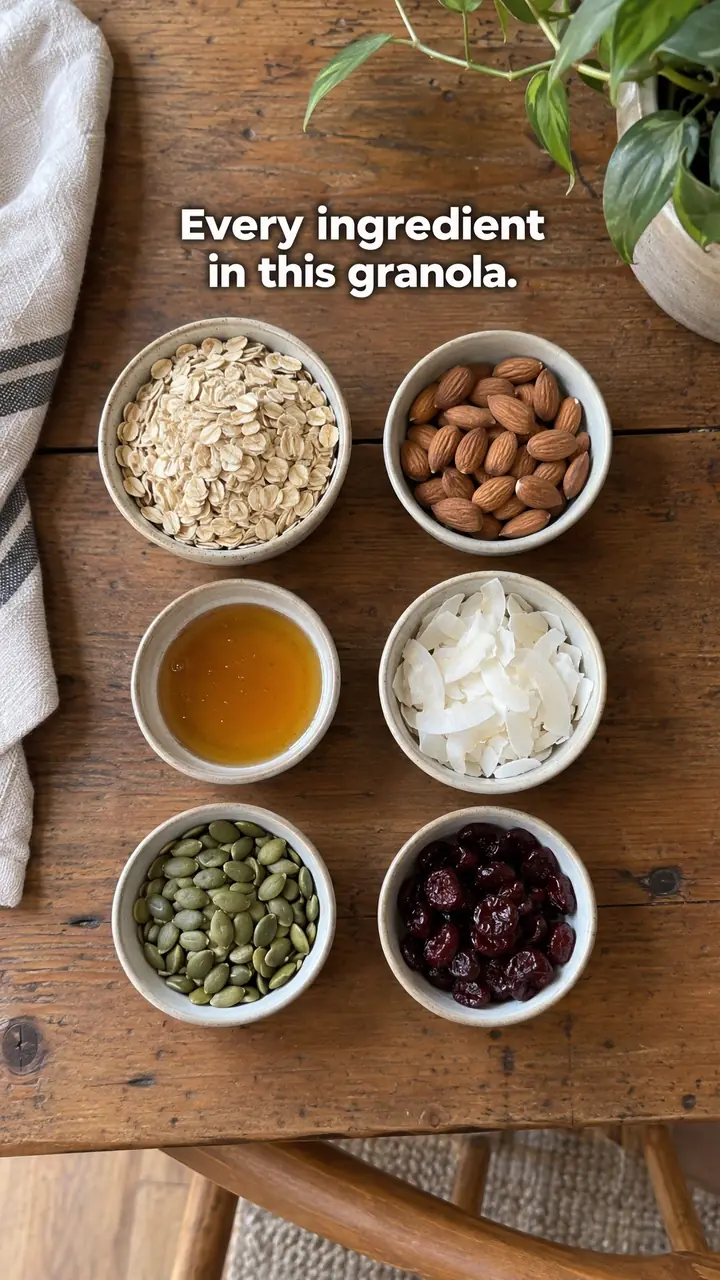
Manufacturing process hook, in pictures
Why it works
- Curiosity about the change
- Showing raw material and naming the finished product can give viewers a reason to watch the steps between them. This is more likely to be clear when the material and its changes are easy to recognize, but it does not guarantee attention.
- Enjoyment of visible work
- Clean cuts, steady pours and other clear actions can be satisfying to watch. Some viewers may enjoy the sequence itself, while others may care more about what the finished product does.
- Concrete details about production
- Accurate footage can help viewers understand the materials, work and checks involved, which may help explain part of the price. It does not by itself prove quality, safety, origin or value; those claims need their own support.
The formula
- Frame 1: fill the screen with the raw material. No face, no logo.
- Same frame: add text that names the start and the end, such as '[Raw material] → [finished product]'.
- Within the first second: start the first visible change, like a cut, pour or mix.
- Middle: three to five steps in true order, each short, with real workshop sound.
- End: the finished product in the same spot and angle as the raw material, then in use.
[Close-up of raw material] + text: '[Raw material] → [finished product]' + [first action starts by second one] + [3–5 steps, real sound] + [finished product in the same frame] + [one shot of it in use].How to use it
- Pick one product with a visible change
Choose a product where the start and end look very different. Leather to a wallet works. Wax pellets to a candle works. A mix that stays a mix does not. If the change is small, pick another product or another hook.
- Open on the raw material
Put the raw material in frame first and fill the screen with it. Add 'Raw → finished' or '[Material] → [product]' as text. Let workshop sounds play. Do not open with your face, your logo or a wide shot of the room.
- Plan three to five clear steps
List the steps before you film. For a candle: melt, scent, pour, set, trim. For a wallet: cut, edge, stitch, finish. Drop any step the viewer cannot understand at a glance.
- Film each step close and steady
Use a fixed phone or camera. Keep your hands in frame. Film the action, not the talk around it. Record the real sound of cutting, pouring or stitching. Reshoot any step where the change is hard to see.
- Edit out the dead time
Cut the waiting. Speed up slow parts, but keep the key action at normal speed so it reads as real. Keep steps in true order. Add a caption only when an action is unclear on its own. On a carousel, use one slide per step with the raw material on slide one.
- End on the finished product in use
Place the finished product where the raw material was, at the same angle if you can. Then show it lit, worn, filled or packed. End there, with a caption asking what people want to see made next.
Examples
| Niche | Line | Why it works |
|---|---|---|
| Candles (DTC home) | Wax pellets to a poured candle in [number] seconds. | The melt and pour are easy to film and calm to watch. The change reads clearly on a small screen. |
| Leather goods (DTC accessories) | This flat hide becomes a wallet. Watch. | The start looks plain and the end is something you carry. The gap is obvious from frame one. |
| Chocolate (DTC food) | Cocoa beans to bar, all in one small kitchen. | Few viewers have seen the bean stage. Curiosity works before the first step even starts. |
| Soap and skincare (DTC beauty) | [Number] raw ingredients. One bar of soap. | The mix, pour and cut are simple to follow. The final slice gives a clean end frame. |
| Knitwear (DTC fashion) | One cone of yarn. One sweater. [Number] hours. | The material starts with no shape at all. Viewers stay to see where the shape comes from. |
| Jewellery (DTC accessories) | A scrap of [metal] to the ring on my finger. | The dull raw piece makes the polished ending land harder. The hand at the end shows real scale. |
| Ceramics (DTC home) | Wet clay to the mug you drink from. | Hands, water and spinning clay give clear action in every step. The glaze firing is a strong final change. |
| Home cooking creator | Flour and water to fresh pasta, no machine. | It works without a product to sell. The viewer can follow along and try it at home. |
| DIY and woodworking creator | An old pallet board to a phone stand. | Sawing, sanding and oiling each change the look, so there are several small payoffs. |
| Art and illustration creator | A blank lino block to my first print. | Carving builds tension because nobody sees the image until the ink goes on and the paper lifts. |
Variations
- One stage only
- Show a single stage, such as the glaze or the stitch, from its raw state to its result. Use it when the full process is too long, and post each stage as part of a series.
- Finished first, then rewind
- Show the finished product for one second, then cut to the raw material with 'How it started' on screen. Use it when the end result is striking enough to stop the scroll on its own.
- Sound only, no voiceover
- Keep the workshop sound, skip the talking and use one caption per step. This suits makers whose tools and hands tell the story better than speech.
- Maker's one-line note
- Keep the visuals the same, but add one spoken line at the step that takes the most skill or time. Use it when that step explains your price.
Common mistakes
- Starting with a logo, a greeting or a room tour
- Fix → Open on the material itself, name the end product in text and start the first action within the first second.
- Showing every single step
- Fix → Keep three to five steps the eye can follow. Save the full version for your product page or YouTube.
- Speeding up the whole video
- Fix → Speed up the waiting, not the key action. Keep cuts, pours and stitches at a speed that looks real.
- Using another factory's footage as your own
- Fix → Film your own work. If a partner makes the product, get permission and say so on screen.
- Ending on a flat pack shot
- Fix → Hold the finished item up, then show it in use. Give the viewer the payoff they waited for.
When not to use it
- You cannot obtain accurate, authorized footage of the product's manufacture. Use Behind the scenes to show work you genuinely do, such as order preparation or checks, without implying that you manufacture the product.
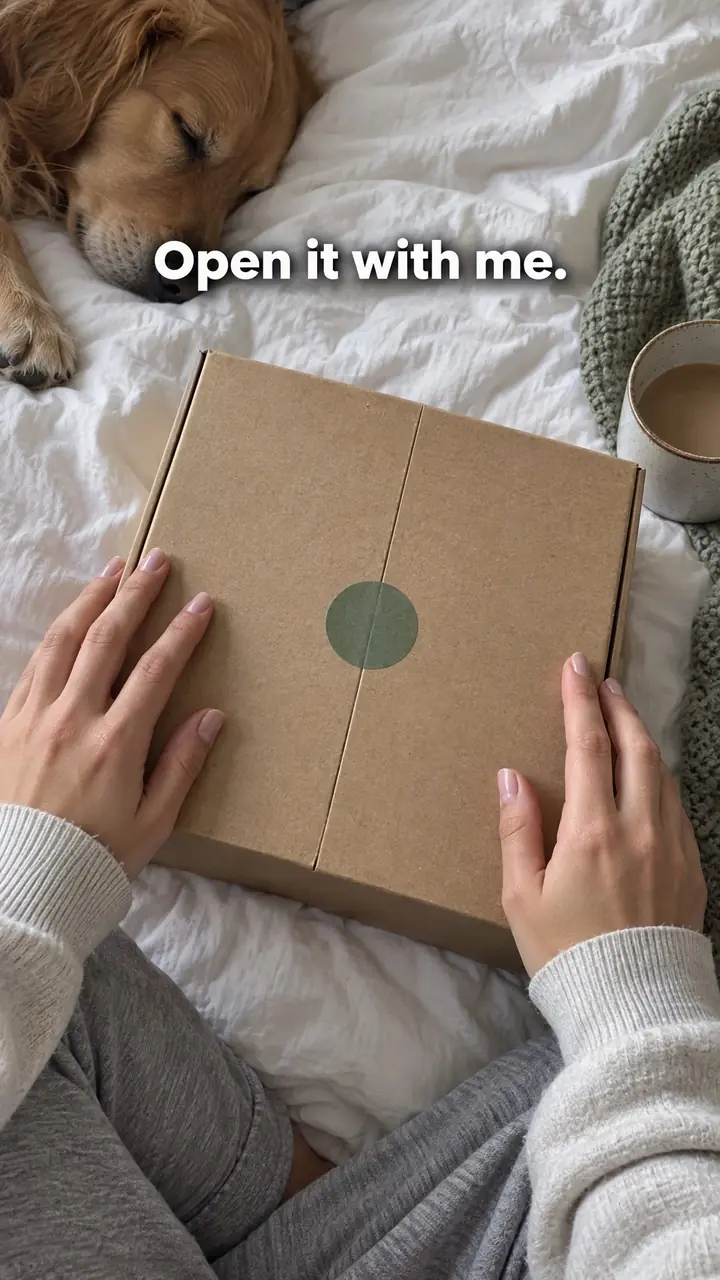
- You only have the finished product and want to show its arrival or presentation. Use Packaging experience for a genuine unboxing rather than implying a raw-to-finished process. Authorized footage from an accurately identified manufacturing partner can still support a manufacturing process hook.
- Your main point is what the product contains, and the manufacturing sequence adds little useful information. Use Ingredient reveal to show the actual materials or ingredients without implying that appearance alone proves their quality.
- Your main point is how the product performs over time, not how it is made. Use Real-world test and report the actual conditions and observations; manufacturing footage alone cannot establish durability or effectiveness.
For brands
For DTC brands, this hook does two jobs at once: it holds attention and it explains your price without saying 'premium.' It fits best when your product is handmade, made locally, made in small batches or priced above the basic option.
- Answer the price question with footage. Film the slowest or most skilled step and caption it plainly: '[Step] takes [time] per piece.'
- Run the short version as an ad and embed the long version on the product page, next to the price, for buyers who want detail.
- Build a named series with the same opening text, such as '[Material] → [product]', so returning viewers know what they are about to watch.
- Film each new batch or colour from raw material to packed order to announce a launch, instead of a static product photo.
- If a partner workshop makes part of the product, film that part with permission and label it 'made with [partner]'. Being honest about it builds more trust than hiding it.
Pairs well with
- Behind the scenes
Use the process hook for the product's journey, then a behind-the-scenes post for the people, orders and daily work around it.
- Satisfying action
Place one clean, precise action, like a smooth pour or a neat trim, early in the process. It gives a payoff before the final reveal.
- Sound cue
Open on the clearest workshop sound, like a blade on leather or wax hitting a pot, so the first second works even before people read the text.
- Ingredient reveal
Follow a process video with an ingredient reveal for buyers who want to know exactly what went in.
FAQs
- What is a hook used for?
- A hook holds attention in the first seconds so people keep watching. A manufacturing process hook does this by raising one question: what will this become? The steps then show effort and care, which makes the price and the final result easier to understand.
- What is a good hook for a TikTok video?
- For a product you make, open on the raw material with text such as 'Raw → finished.' Keep the real workshop sound. Cut straight to the first clear action, like a cut, pour or fold. Do not start with a logo, a greeting or a wide shot of the room.
- What's the 3 second rule on TikTok?
- It is the idea that viewers decide within moments whether to keep watching. Treat the first three seconds as your hook, not your introduction. Show the material, name the end product in text and start the action at once. Save the background for later.
- How to create a hook for Reels?
- Pick one product and film it in order. Open on the raw material and add '[Material] → [product]' as text. Show three to five short steps. End on the finished product, then show it in use. The same edit works on Reels, TikTok and Shorts.
- Can you give me an example of a video hook?
- Hold up a plain sheet of [material] with 'This becomes a [product]' on screen. Cut to the main shaping step, then the finishing step. End with the completed [product] in your hand. It works because the viewer can picture the gap and wants to see it closed.
- How do I show my manufacturing process without misleading people?
- Film only your own process, or get permission and say whose process it is. Never use stock factory footage as if it were yours. Do not film a supplier's method, a staff member or a customer order without consent. If you cannot show a step, skip it and caption the jump.
Key takeaways
- Open on the raw material, not your logo or your face.
- Show three to five clear steps, in order, with real sound.
- End on the finished product in the same frame as the start, then show it in use.
- Only show your own process, or clearly label whose process it is.
- If the change is small or the process isn't yours, pick a different hook.